
How To Use Checkering Tools

Pin Em Senjata Api
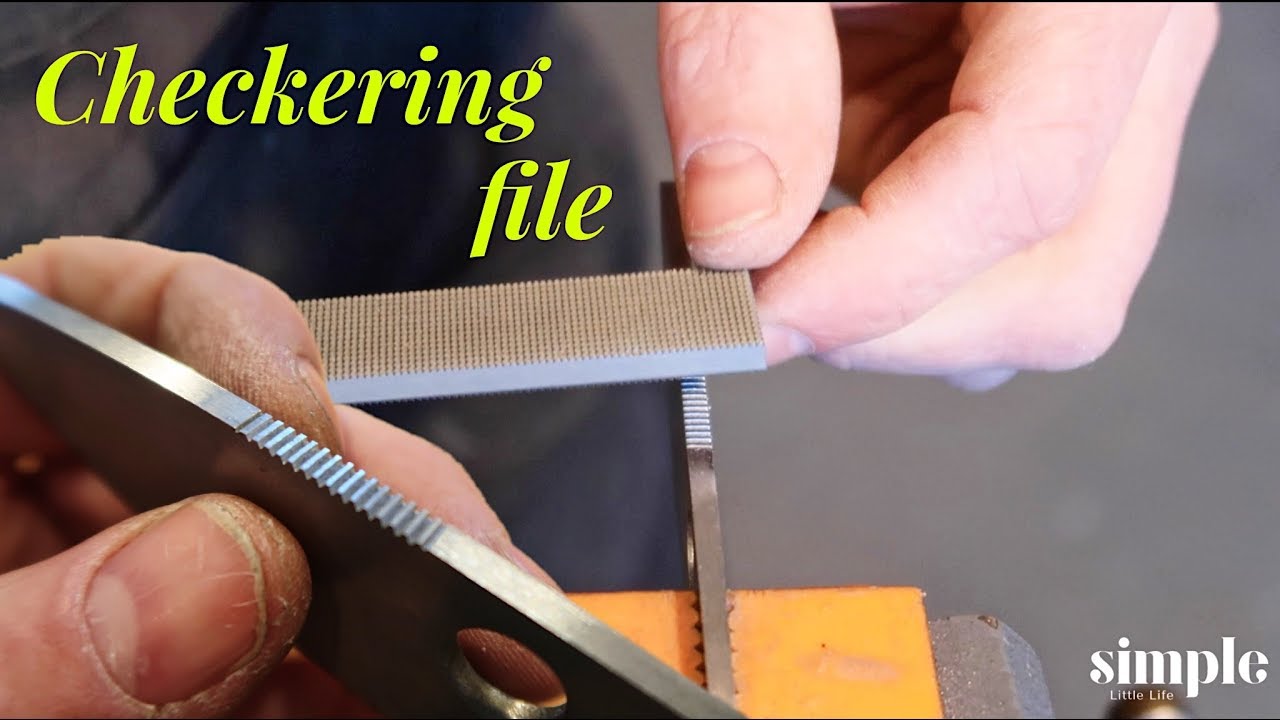
Tool Time Tuesday Checkering File A Great Tool For Knife Making Knife Making Things To Sell Knife

Pin On Checkering Tool

Hand Checkering Tools Question Page 2 Carving Tools Tools Gunsmithing Tools

12pc Wood Stippling Dem Bart Checkering Jointer Gunsmith Gunstock Carving Kit With Tool Roll Usa You Can Obtain Even Mo Wood Carving Tools Carving Tool Roll

Wood Carving Hand Tools 160677 Dem Bart Checkering Tools 18 Lpi Starter Gunsmith Gunstock Ramelson Veiners Usa Buy It Now Only 149 95 On Ebay Wolle Kaufen
You will BASICALLY be re cutting your pattern.
How to use checkering tools. You must know the LINES PER INCH of your current pattern. A checkering cradle is a tool that is used to hold your stock in position while you checker it. If you have areas with the checkering completely missing due to wear wood damage or wood repair use a straightedge and sharp pencil to complete the missing lines.
Again cut a border along the line you have drawn. A single-line cutter is indispensable. Like most forms of art practice is essential but in the hands of a trained craftsman this job is done in a most efficient manner and of course leads to much greater profit margins.
A single-line cutter a two-line cutter a left-to-right guide cutter a right-to-left guide cutter a finishing cutter and a short cutter for tight corners. Checkering. For the folks more oriented to machines the use of the Dremel is an alternative.
Brush away dust frequently. Next is the two-line cutter used to lay out the next line to be cut and to keep it parallel to your master line. Like most forms of art practice is essential but in the hands of a trained craftsman this job is done in a most efficient manner and of course leads to much greater profit margins.
Use knife checkering tools including white blue and yellow layout pencils along with two-edge spacer cutters to ensure proper spacing and accuracy. You will need a single line cutter for the borders. The single-line cutter is used to lay out the pattern and the master lines - and to deepen the checkering to full depth.
The lower tool steel is a special tool for cutting borders mullered borders. The next tool is the single-line cutter. Flints.

Pin On Miniaturetools Made By Paul Hamler

Pin On Carving

Pin On Checkering Tool

Pin On Gun Smithing

Gunsmithing Tools Woodworking Gunsmithing

Gunline Leader Checkering Tool Set Le18 In 2021 Tools Tool Set Line Tools

Pin On Craftsmen S Work

Ramelson Checkering And Restoration 5 Pieces Carving Sets Restoration Vintage Shaving

Pin On Bron Zdobienie

Pin On Gunstocks

Pin On Products

Dembart Master Set Inside Ruzhe Instrument Kartinki

Gunstock Gunsmith Woodcarving V And U Chisel Carving Set For Checkering And Restoration 5 Piece With Leather Carving Sets Leather Tool Roll Wood Carving Tools
