
How To Make Wood Joints With Router
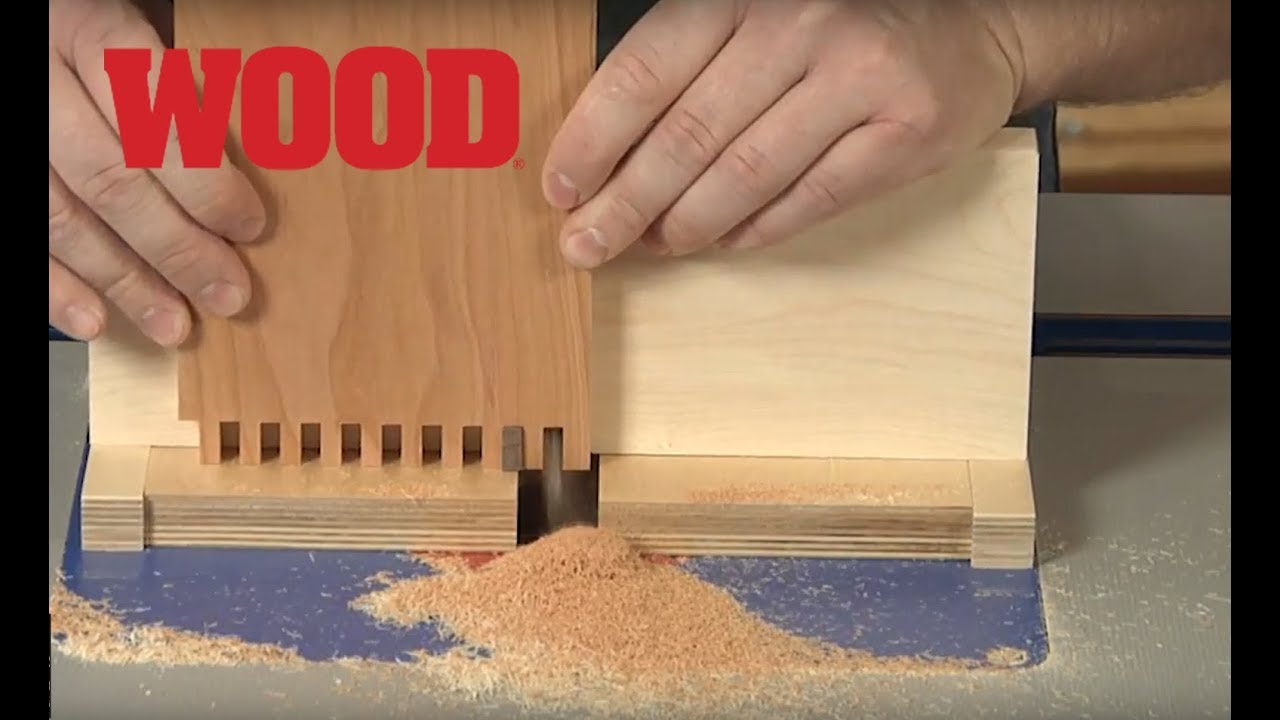
How To Build A Box Joint Jig For Your Router Wood Magazine Youtube Box Joints How To Make Box Diy Router

Good Wood Joints Woodworking Joints Woodworking Tips Wood Joints

Tapered Sliding Dovetails Joinery Tips Jigs And Techniques Woodarchivist Com Woodworking Joints Woodworking Workshop Router Woodworking

942 Box Joint Jig Plans Joinery Tips Jigs And Techniques Woodworking Box Box Joints Box Joint Jig

How To Make A Simple Box Joint Jig For My Router Table To Produce Perfect Joints Youtube Box Joints Box Joint Jig Router Table
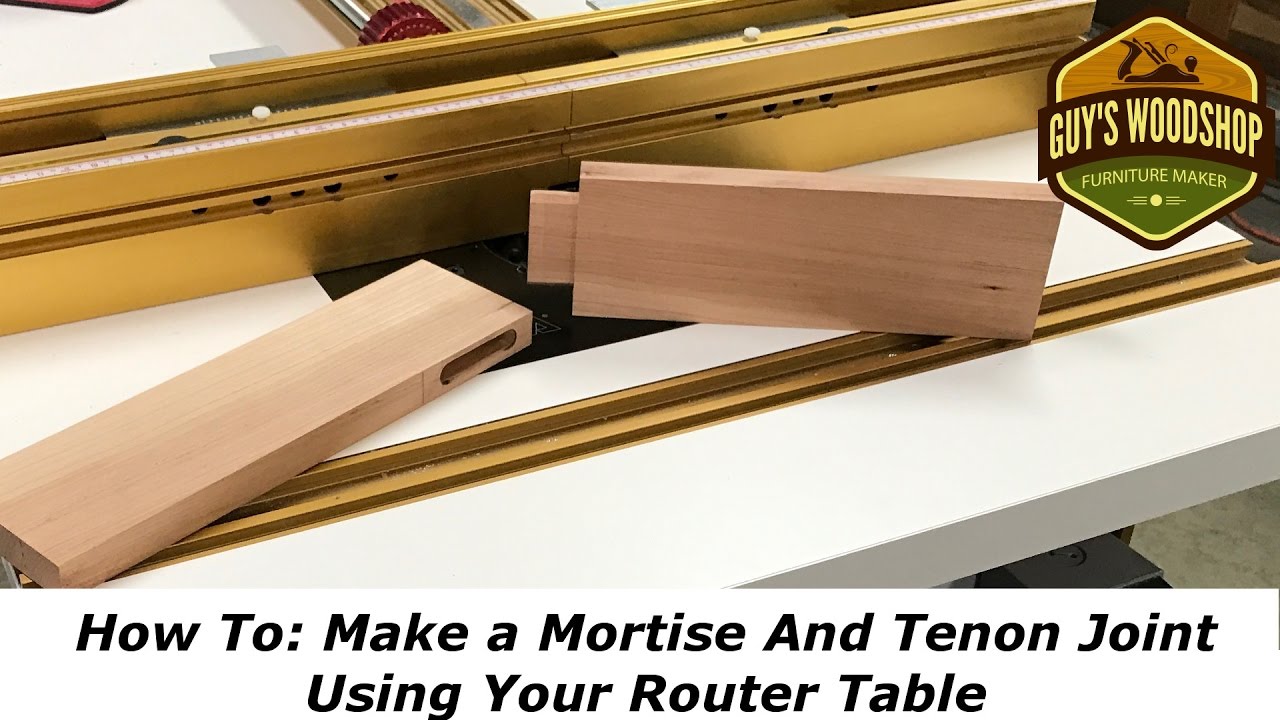
4 How To Make A Mortise And Tenon Using Only The Router Table X2f Woodworking How To Youtube Woodworking Joints Mortise And Tenon Wood Turning Projects

Push the first piece of wood along the finger joint router bit with the help of supporter and start routing.
How to make wood joints with router. It also adds to shop time and potential errors when making the wood joint. Do the same thing as you did with the first piece of wood. This new twist on an old idea provides interchangeable faces for different size box joints.
Cutting a tongue and groove with hand router alone can be dangerous. Set your router depth according to your desired thickness for your finger joints. Place the second marking piece on the table and push along the router bit.
Types of Biscuits and which ones should you use How to Make Biscuit Joints with a Router 1 Alignment and marking the locations 2 Setting up the router. To cut a tongue-and-groove joint by hand it is usually necessary to have tongue and groove router bits. Set the straightedge guide back on the board so you remove only 116 in.
Plug in your router and set the base on your piece of work. The same joint can be accurately created using a router. You should have your safety glasses and earmuffs on when making the dado joint.
Switch on your router wait patiently for few moments to allow the router to come into its full speed. Beginners learning how to make a tongue and groove joint with a router might want to cut the wood joints without using a router table. If you wanted to make a box then use four pieces of wood.
Now post the router right on the spot where you would like to create the joint. Cut the tongue first then change the bit and make the matching groove. Use a router table when making tongue and groove with router tools.

Good Wood Joints Wood Joints Woodworking Joints Wood Joinery
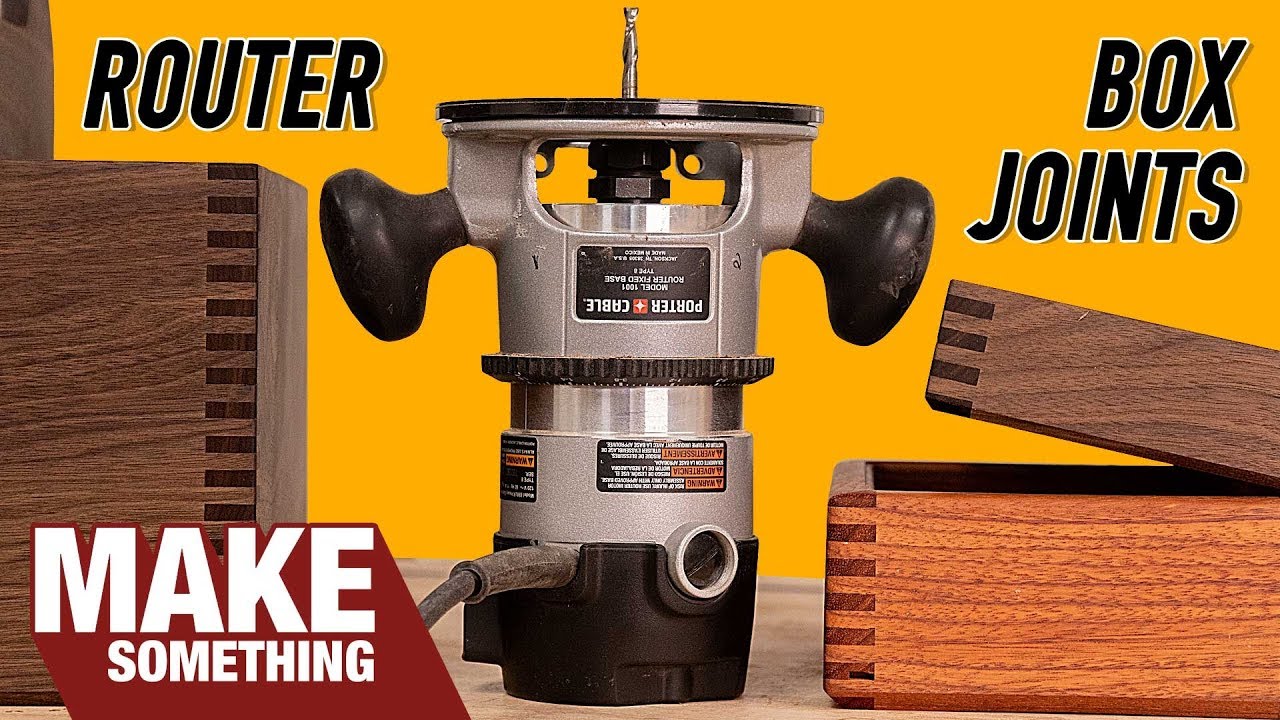
How To Make Box Joints With Only A Router Woodworking Jig Router Woodworking Box Joints How To Make Box

Lock Miter Router Bits Woodworking Tool Kit Router Woodworking Woodworking Tips

Cnc Mill Joints Splice Wood Joints Woodworking Joints Wood Joinery

5 Awake Ideas Wood Working Room House Woodworking Christmas Ideas Woodworking Christmas Ideas Woodworking Router Wo Woodworking Joints Wood Joints Woodworking
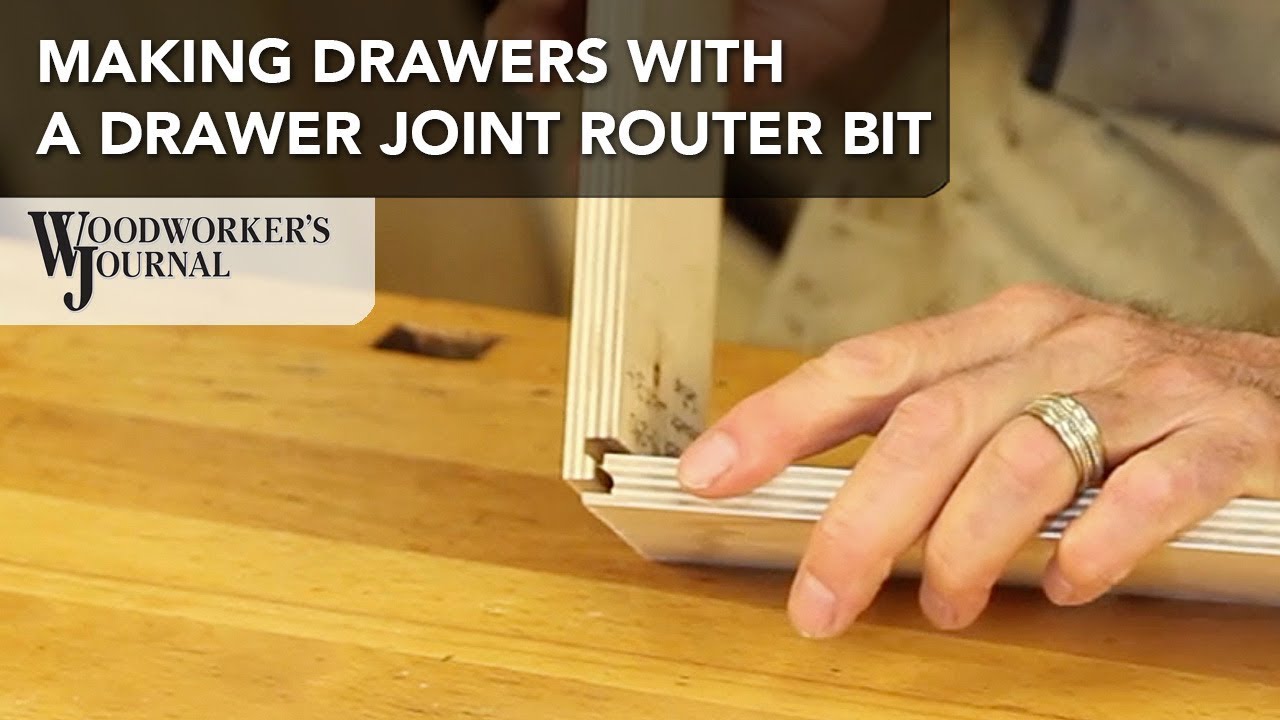
Make A Drawer Box Using A Drawer Joint Router Bit Woodworking Tip Youtube This Is The One Router Bits Woodworking Tips Woodworking Jig Plans
16 Charming Wood Work Desk Ideas Woodworking Joints Woodworking Techniques Woodworking Tools For Sale

3105 Frame And Panel Construction Cabinet Door Construction Woodworking Projects Diy Cabinet Doors Cabinetry Diy

Pin On Wooden Hinged

Pin By Jarod Ngl On Menuiserie Woodworking Joints Wood Router Woodworking Plans

Rockler Router Table Box Joint Jig Box Joints Box Joint Jig Router Table

How To Glue Wood Jet Woodworking Tools Woodworking Tools Woodworking Joinery

How To Make Box Joints With A Router Box Joints Woodworking Box How To Make Box
