
How Do You Use A Wood Burning Tool For Beginners
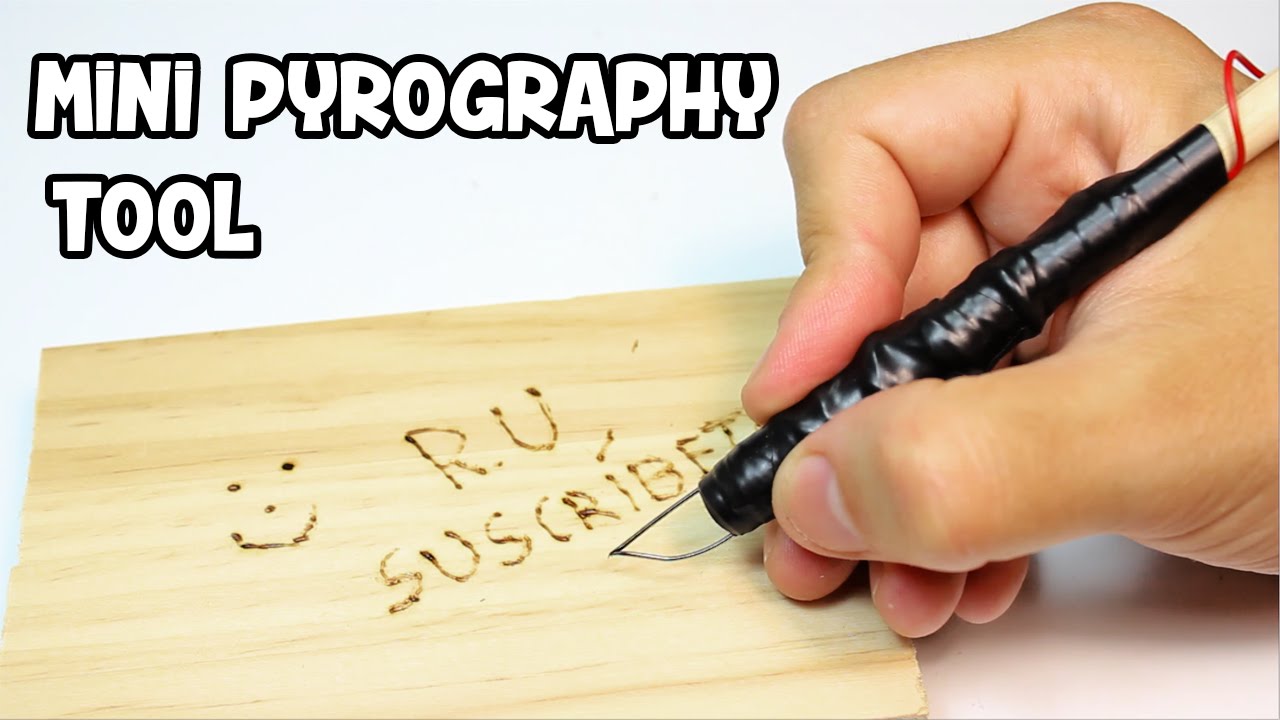
How To Make A Mini Pyrography Pen Woodburning Tool Youtube Wood Burning Tool Wood Diy How To Antique Wood

Wood Burning Tips Wood Burning Crafts Wood Burning Patterns

Wood Burning Ultimate Guide For Beginners Wood Burning Crafts Wood Burning Patterns Stencil Beginner Wood Burning

Choosing A Woodburning Tool Recommended Battle Of The Burners Woodburning Tools Wood Burning Beginner Wood Burning

Diy Wood Burning How To Tips Project Patterns Wood Burning Techniques Wood Burning Crafts Wood Burning Stencils

Beginners Guide Book On Pyrography In 2020 Wood Burning Techniques Beginner Wood Burning Wood Burning Stencils
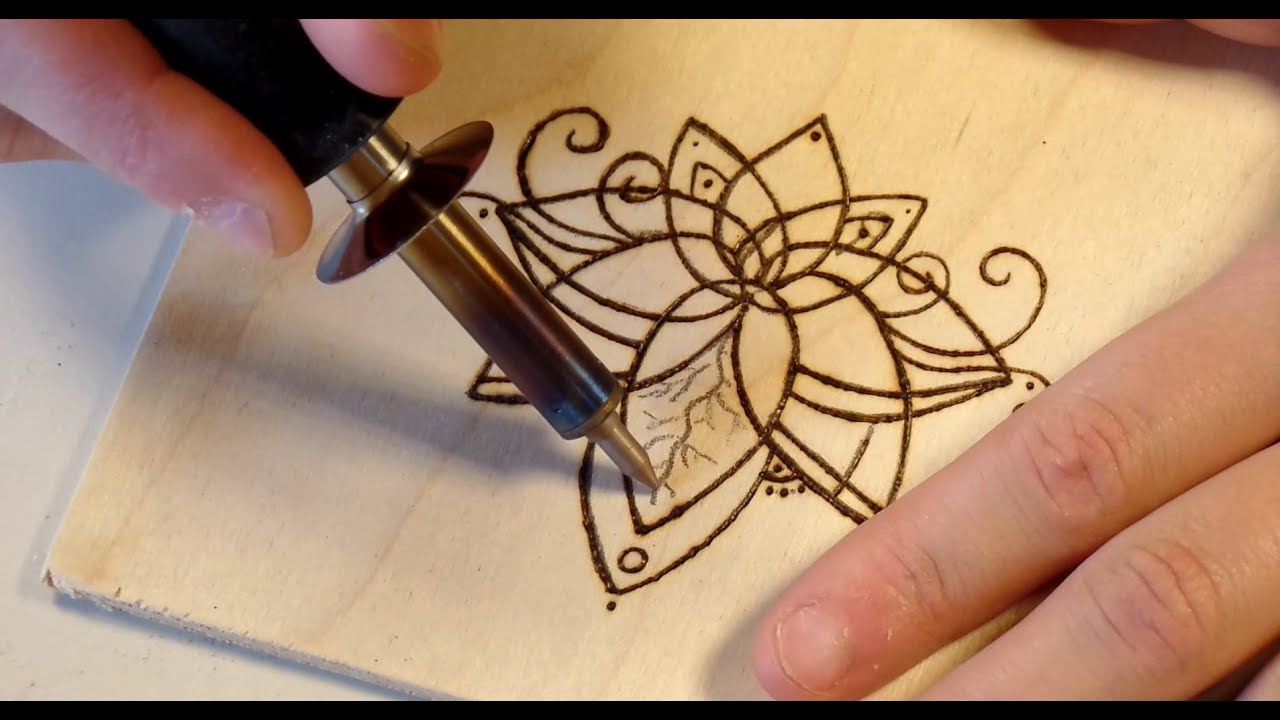
Shade with light circular motions with your pen using more of the side of your tool.
How do you use a wood burning tool for beginners. The hotter your tool is the faster and darker the wood will burn. I focus on keeping the letters filled and the lines straight with my burner tip. One thing to take notice of is that your tip will cool off as you drag it along the canvas so you might notice a dark burnt spot at the beginning of your line and then lighter portions near the end.
Beginner Strokes to Try Create a fine line controlled with the point of the pen. Theres a unique feeling in the tool when youre burning the wood and its just something youll want to get used to. However you can play with the amount of pressure you use on the surface to get different effects in the wood burning.
Add boldness and depth by holding the tool down longer in place on your. I choose a tip that fits well in the letters and requires the least amount of strokes. You can find this kind of wood at many crafts or hobby stores.
Write Clearly and Concisely Grammarly. Push harder and then use a lighter touch. The amount of shade that has been put into these pieces is astonishing but shade is a woodburning tools strong point and is ultimately how it is able to create images.
How to Wood Burn Letters for Beginners Let the Burning Letters Begin. Place transfer paper between the pattern and the wood and trace the lines of the pattern with a pencil or ballpoint pen to create the design on the wood. Using Your Wood Burner 1 Hold the wood burner firmly but press on the wood lightly.
Use the full side of the pen for a calligraphy style effect. However you do not need to press down on the wood very hard. Find out how to use an inkjet printer to transfer any image to a piece of plywood and then.

Pin On Crafts For The Home

Pin On Craft Ideas

Pyrography Kit Best Wood Burning Tools For Beginners Best Wood Burning Tool Candle Making Equipment Skills To Learn
Walnut Hollow Wood Burning For Beginners Using The Creative Versa Tool Youtube Wood Burning Crafts Wood Burning Stencils Walnut Hollow Wood Burning

Top 5 Best Wood Burning Tools And Pyrography Pen Kits Best Wood Burning Tool Wood Burning Tool Wood Burning Kits

Pyrography Patterns For Beginners Step By Step Instructions On How To Choose Your Design An Wood Burning Patterns Wood Burning Techniques Pyrography Patterns

Pin On Crafts Tips And Diy

Amazon Com Chandler Tool Wood Burning Kit 30 Watt Pyrography Woodburner With Solid Brass Tips For Wood Burning Kits Wood Burning Tool Wood Burning Tips

82 Wood Burning Kit Wood Burning Tool Supplies Leather Craft Etsy Wood Burning Kits Wood Burning Tool Leather Craft Tools

Top 5 Best Wood Burning Tools And Pyrography Pen Kits Video Video In 2021 Wood Burning Tool Best Wood Burning Tool Wood Burning Pen

Pin On Chander Tool Tips

71pcs 60w Electric Diy Wood Burning Pen Set Stencil Soldering Iron Wood Burning Tool Kit Carft Pyrography Kit Wood Carving Embossing Set Walmart Com In 2021 Wood Burning Tool Wood Burning

Wood Burning Pyrography Kit Video Pyrography Wood Burning Kits Wood Burning Tips
